Debug a Nuxt.js project in VS code
- Last updated on
- 19 Jul 2024
- tags
One thing that make Visual Studio formidable for JavaScript development is its first class support for JS debugging. A debugger allows you to pause code execution at a specific line and watch your program's state or even execute extra code against it. Among the first things I do after creating a new JavaScript project is to make it debuggable on Visual Studio Code.
In this article, I will show you how I configure debugging on every Nuxt.js project I work on. .vue files require compilation unlike plain JS files, which makes it a little bit harder to debug them accurately. Nuxt runs .vue files on the server which further complicates the issue.
Sink
The newly released Nuxt 3 promises a lot, but I still recommend using Nuxt 2 for its stability and good documentation.Configure the debugger
The first step to debugging a nuxt project is to configure how webpack generates source maps. To do this, add an extend function to the build object in your nuxt.config.js file.
export default {
  build: {
    extend(config, ctx) {
      if (ctx.isDev) {
        config.devtool = ctx.isClient ? 'source-map' : 'inline-source-map'
      }
    },
    // ...
  }
  // ...
}
To configure VS code debugger for the project. Create a .vscode/launch.json file copy this into it.
{
  "version": "0.2.0",
  "configurations": [
    {
      "type": "chrome",
      "request": "launch",
      "name": "Nuxt:client",
      "url": "http://localhost:3000"
    },
    {
      "type": "node",
      "request": "launch",
      "name": "Nuxt:server",
      "console": "integratedTerminal",
      "program": "${workspaceFolder}/node_modules/.bin/nuxt"
    }
  ],
  "compounds": [
    {
      "name": "Nuxt:fullstack",
      "configurations": ["Nuxt:client", "Nuxt:server"]
    }
  ]
}
Start the debugger
- Open the debug tab from Vs code's side menu.
- Select
Nuxt:fullstackas the the RUN AND DEBUG option in the side menu - Click the green-outlined play button beside the RUN AND DEBUG label. This will start the nuxt development server in the VS code integrated terminal and open a chrome window with a tab pointing to development server on port 3000
- Wait for the nuxt to build the server.
- Set a breakpoint on or
.jsfile, the script part any.vueby adding adebuggerline where you want your code to stop. - Reload the concerned page, to trigger a breakpoint.
Pitfall
There are two things I haven't figured out yet:
- Accurately setting breakpoints using VS code interface - When you set breakpoints using the red mark beside the line number, the code breaks at a different place. See Debugging *.vue files puts breakpoints in wrong place
- Bounding breakpoints in
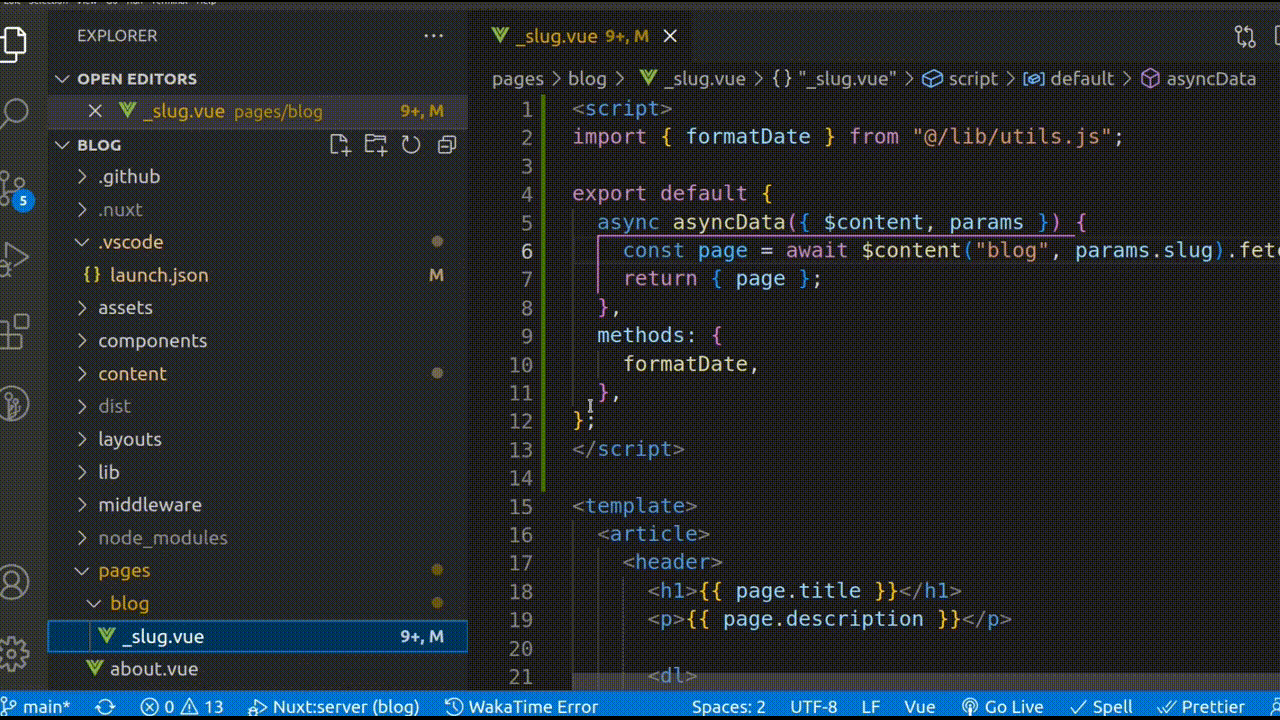
.vuefiles to the server debugger - This makes it hard to debug Nuxt server-side functions likeasyncDataandfetch
After grappling with these issues for almost a day, I decided let them go, instead opting to set breakpoints manually, the JavaScript way, by inserting a debugger statement after the line I want to debug.
Conclusion
I know setting breakpoints by adding the debugger statement might not be the solution you want, I have been there for a day, it might just be the one you need. After all, it achieves the same goal.
Thank you for reading. I hope you find this article helpful.